
A Surfboard Built for Flow
Thoughts behind design choices of a small wave glider

Stage 1: Mind surfing
A friend wanted a new small-wave board tailored to his style. In surfboard design, where and how you want to surf are the main factors that determine the final product. And the start of the design dialog. We’d had previously crafted a near replica of his favorite board. In the process I learned more about his go-to Socal surf spots, approach, and skill level.
His surfing style is minimalist—with a quiet upper body making graceful weaves along the face of the wave. It’s a flow that looks simple, but simplicity in surfing is deceptive. The wave is in constant motion, the board skimming across it, and a surfer atop. All held together by a dynamic dance of opposing forces.
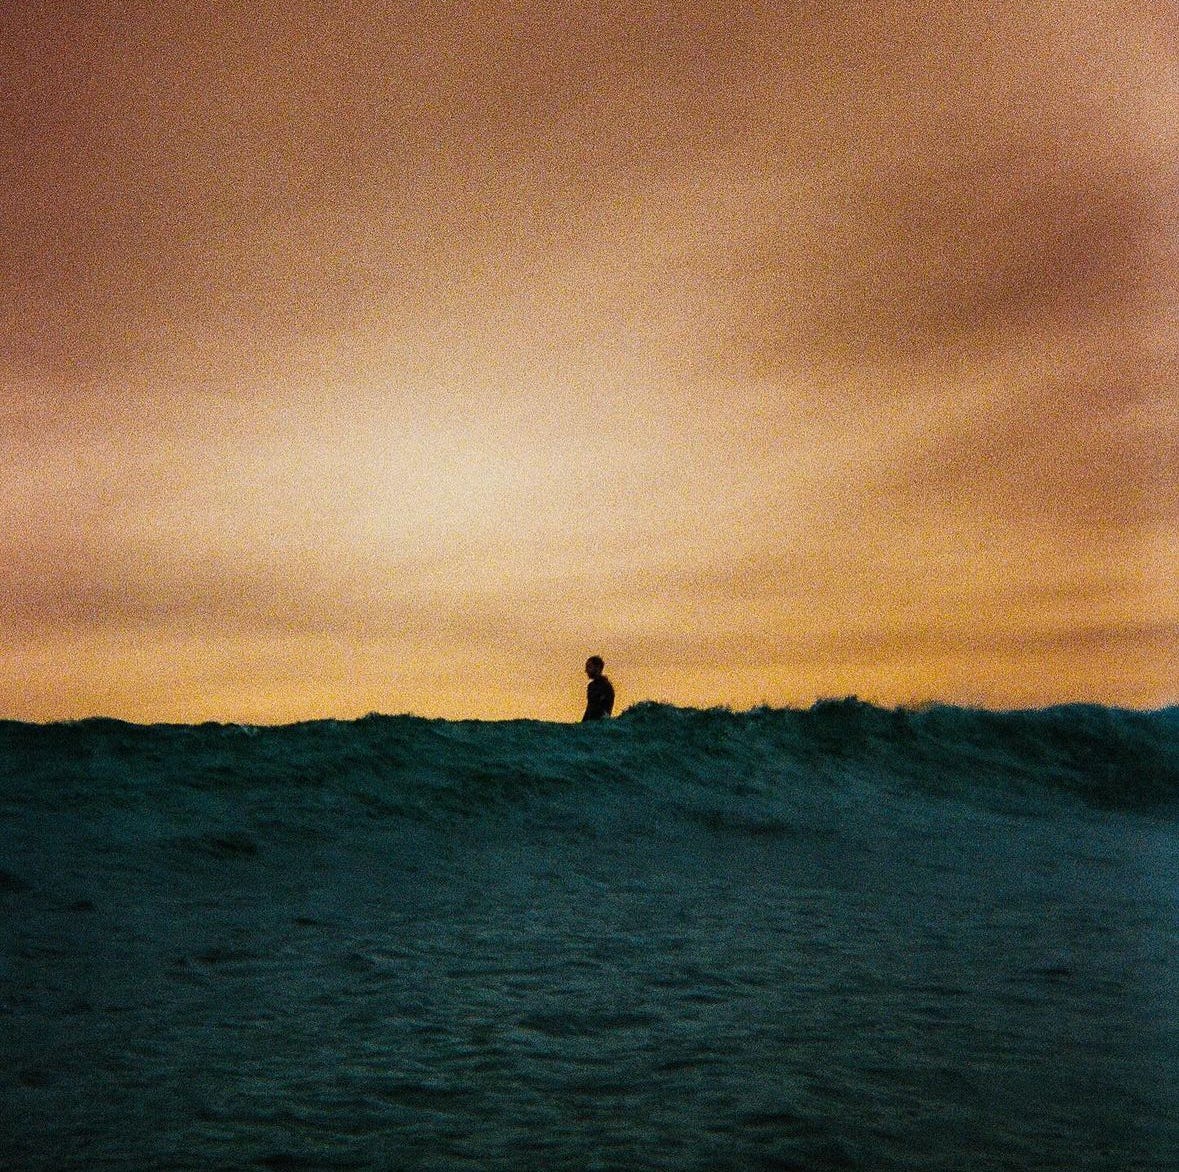
The goal was to design and build a board that excelled in clean, knee-to-hip-high waves—a board that flows across the face of a wave. It also needed to be practical for his life style. This husband and dad of two, doesn’t like wasting time on board transportation.
Stage 2: Board Design
Most boards can be ridden across varying wave conditions—but each has an environment where it truly shines. Think of bicycles: sure, you can ride any bike on grass or gravel, but there are specific designs for mountain trails or city streets. The same goes for surfboards. Below a summary of the reasoning behind our design choices.
Choice 1: Board Type
After weighing our options, we decided to go with a Glider.
A Glider is a wave craft for long rides on smaller days. Generating speed from the wave’s energy and finding trim through balance but without pumping or frequent movement along the board.
The design choices of the board (our pencil) bridged the board’s fit for the intended wave type (our canvas) and personal style expression (the lines drawn on the wave). There is no absolute order of the choices below but the general concept is big picture to small picture.
Choice 2: Length
We settled on eight feet and nine inches. Length and rocker—the curves that lift the nose and tail—go hand in hand.
A glider’s rocker profile is fairly standard. It is the main property that delivers the smooth, unbroken glide. Length was our variable. For long rolling waves like SanO, an 11-12 foot board would work great, but for our purposes, a sub-nine-foot board struck the right balance: nimble, capable of dreamy 60-100 yard rides, and compact for easy transportation.
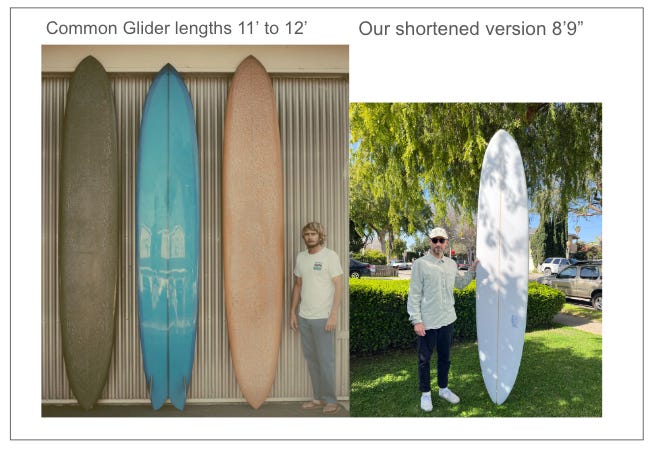
There’s also an element of etiquette. Showing up at a spot with a board significantly longer as everyone else's can throw off the dynamics in a lineup—surfing is a social activity, for many of us after all.
For nearly thirty years I believed width was equally tied to the length rocker equation, but that belief was based on common stock board formulas. For personalized boards, I now believe that purpose, shoulder width, and foot size influence width more than length.
Choice 3: Outline and width
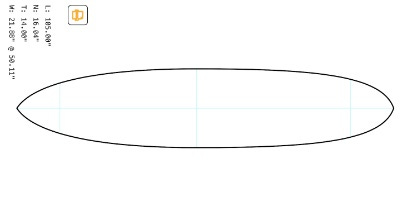
We chose a minimalist, classic pintail outline—smooth, continuous curves to match his understated style.
hydrodynamic side note: Alternative outlines included a wider tail for more drive and less curve in the outline (more parallel) for more speed and glide but since small waves are typically on the slower end, more speed was not needed to match the wave.
The wide point was set back of center to keep the board more parallel to the wave. Where a wide point forward, points the nose more to the shore on longer boards.
Surfing high in the wave face, stability comes from rail engagement with the water and speed, not width. To optimize for speed, this board is relatively narrow for a small-wave board of nearly nine feet.
Choice 4. Bottom and Deck
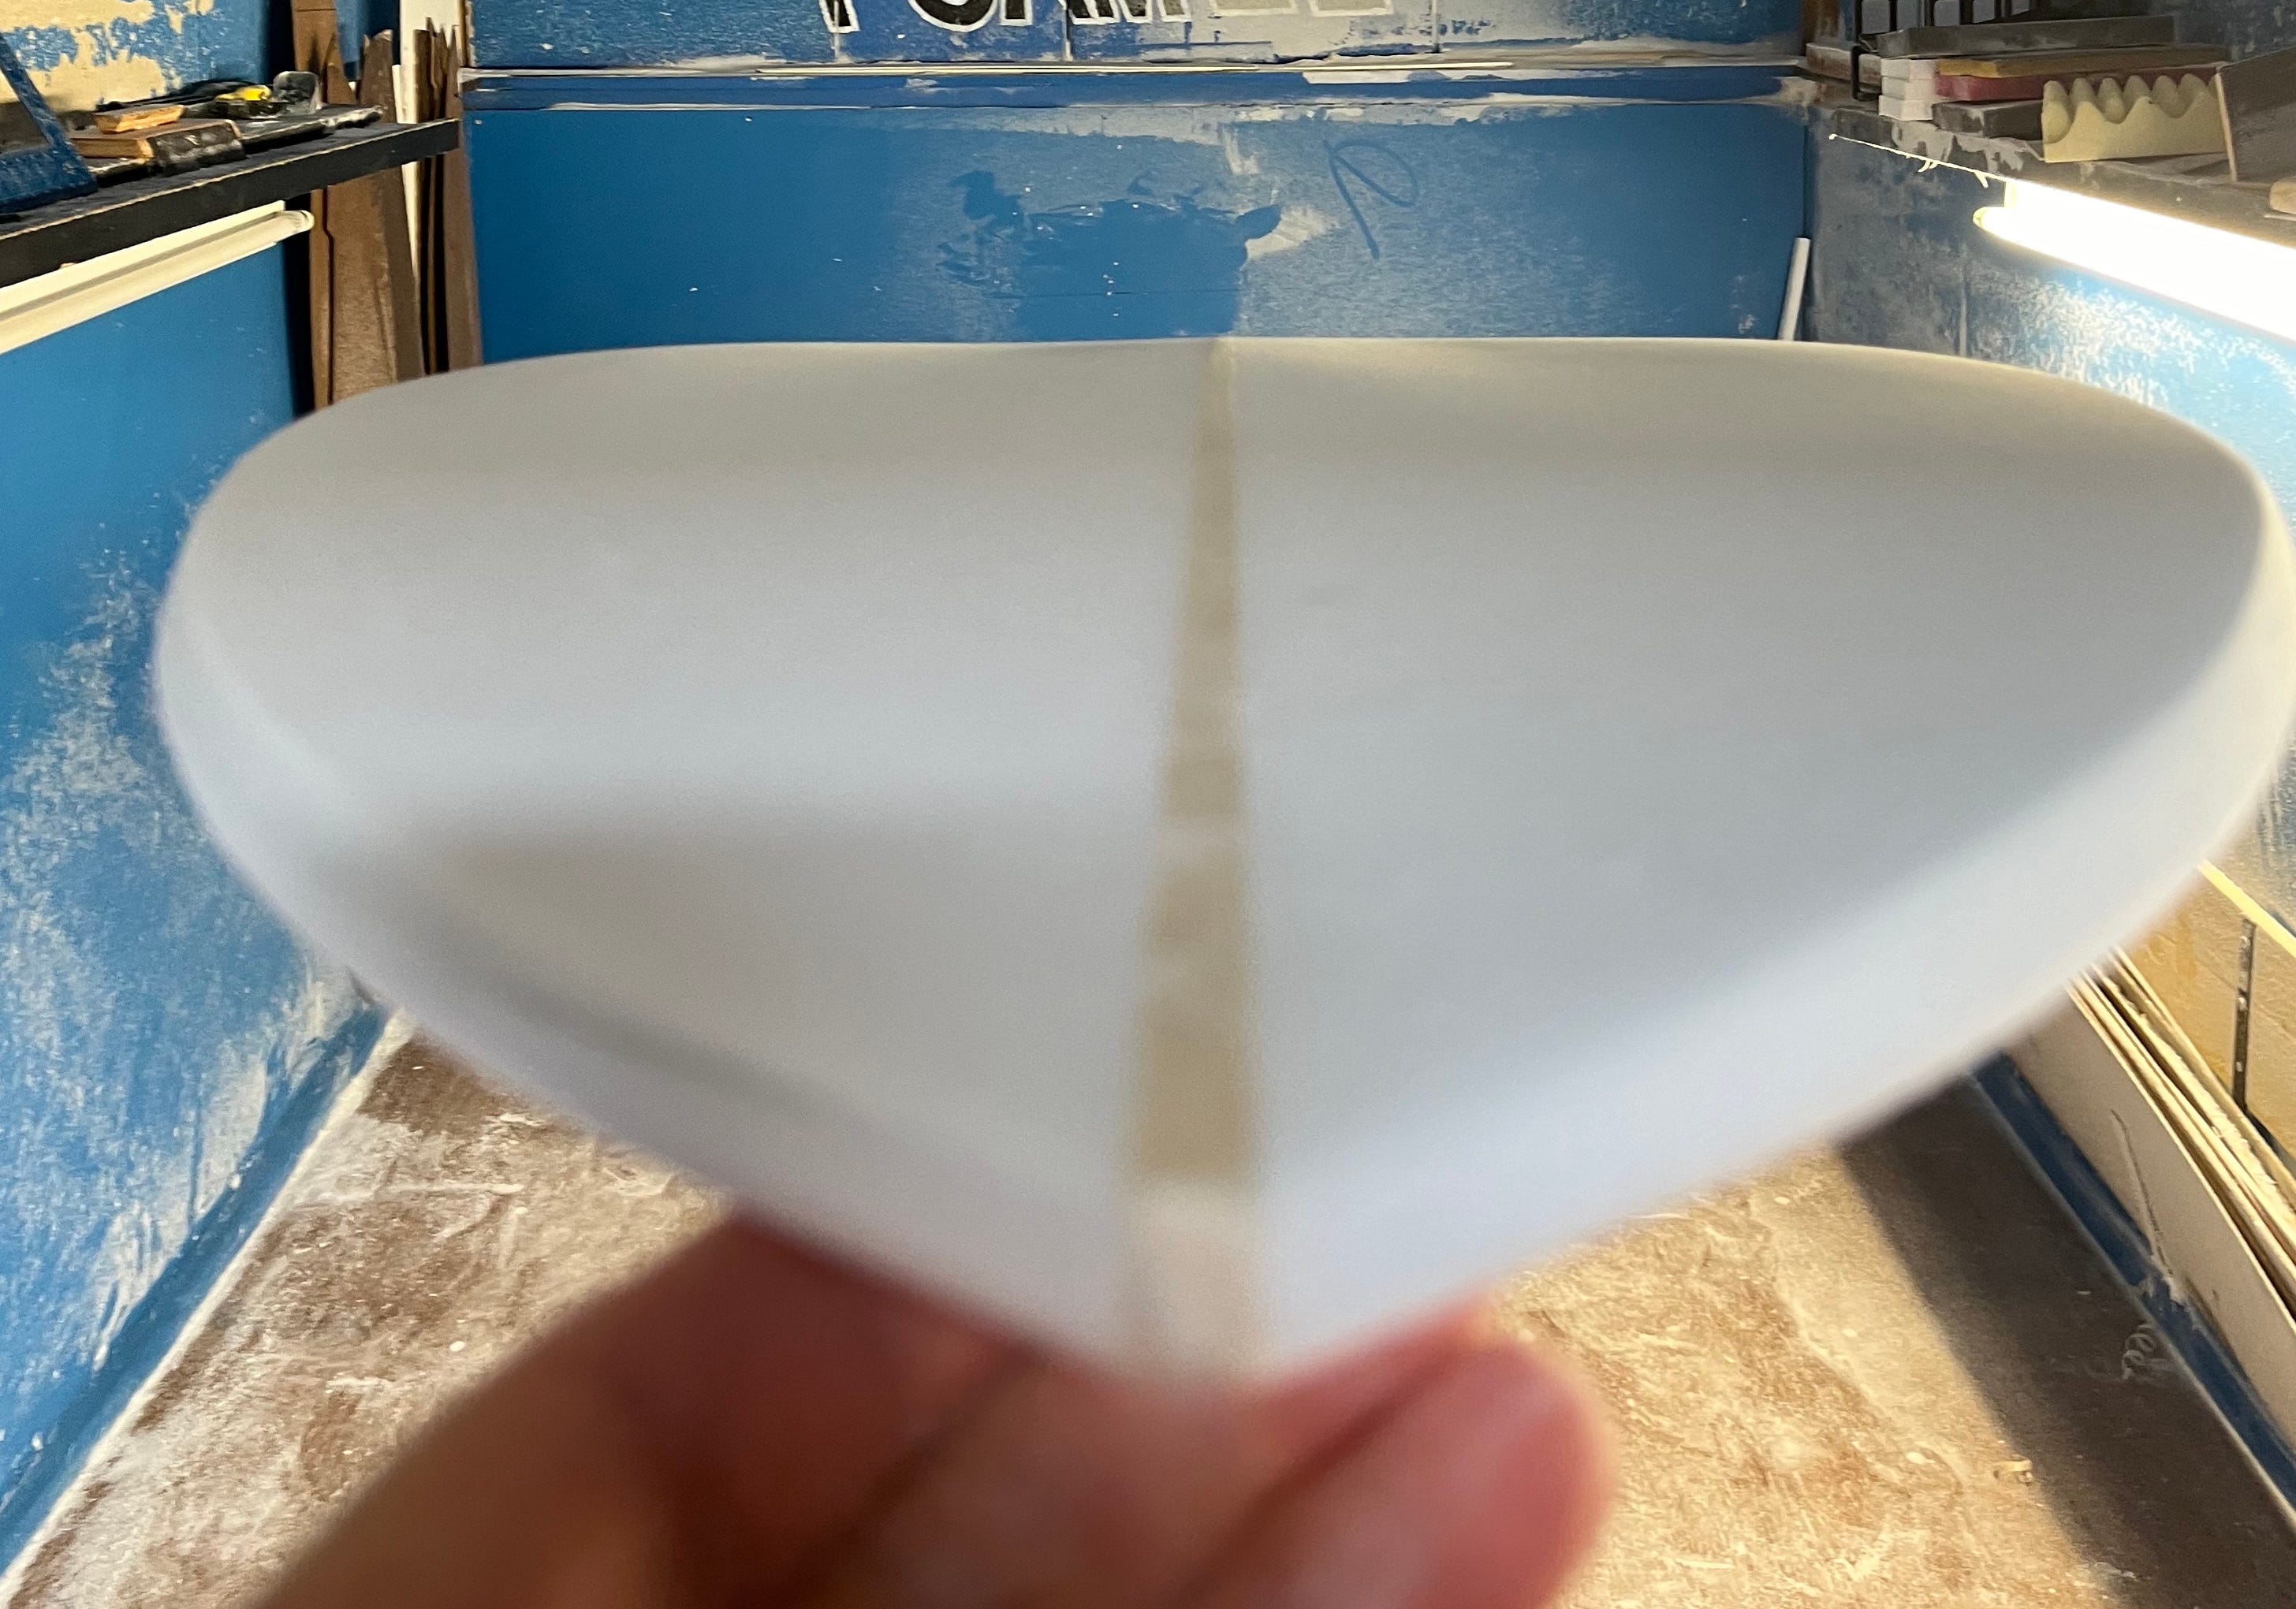
The bottom area in the nose has a subtle 'V' to break up the chop and reduce any flutter sensation that can occur with a flatter nose. The trade-off of losing some nose stability wasn't a concern for our design. A nose concave to lift the nose, when loaded, wasn’t needed.
The tail end has a double concave bottom ahead of the fin to enhance ease of turning while keeping the tail rocker moderate. The V in the back alternative would have raised the tail a bit more. Advantageous for tighter turning, but nice arcs were good enough. The raised tail would compromise the trim and glide objectives.
The board is relatively thin, about half an inch thinner than many standard gliders. That means lower it in the water, improving feel and connection with the wave, plus a touch less weight to move around in and out of the water.
The deck is flatter, not domed, giving it a light, responsive feel. A domed deck requires more leaning to tilt the board on rail and we wanted to encourage and upright surf style.
Choice 5. Rails
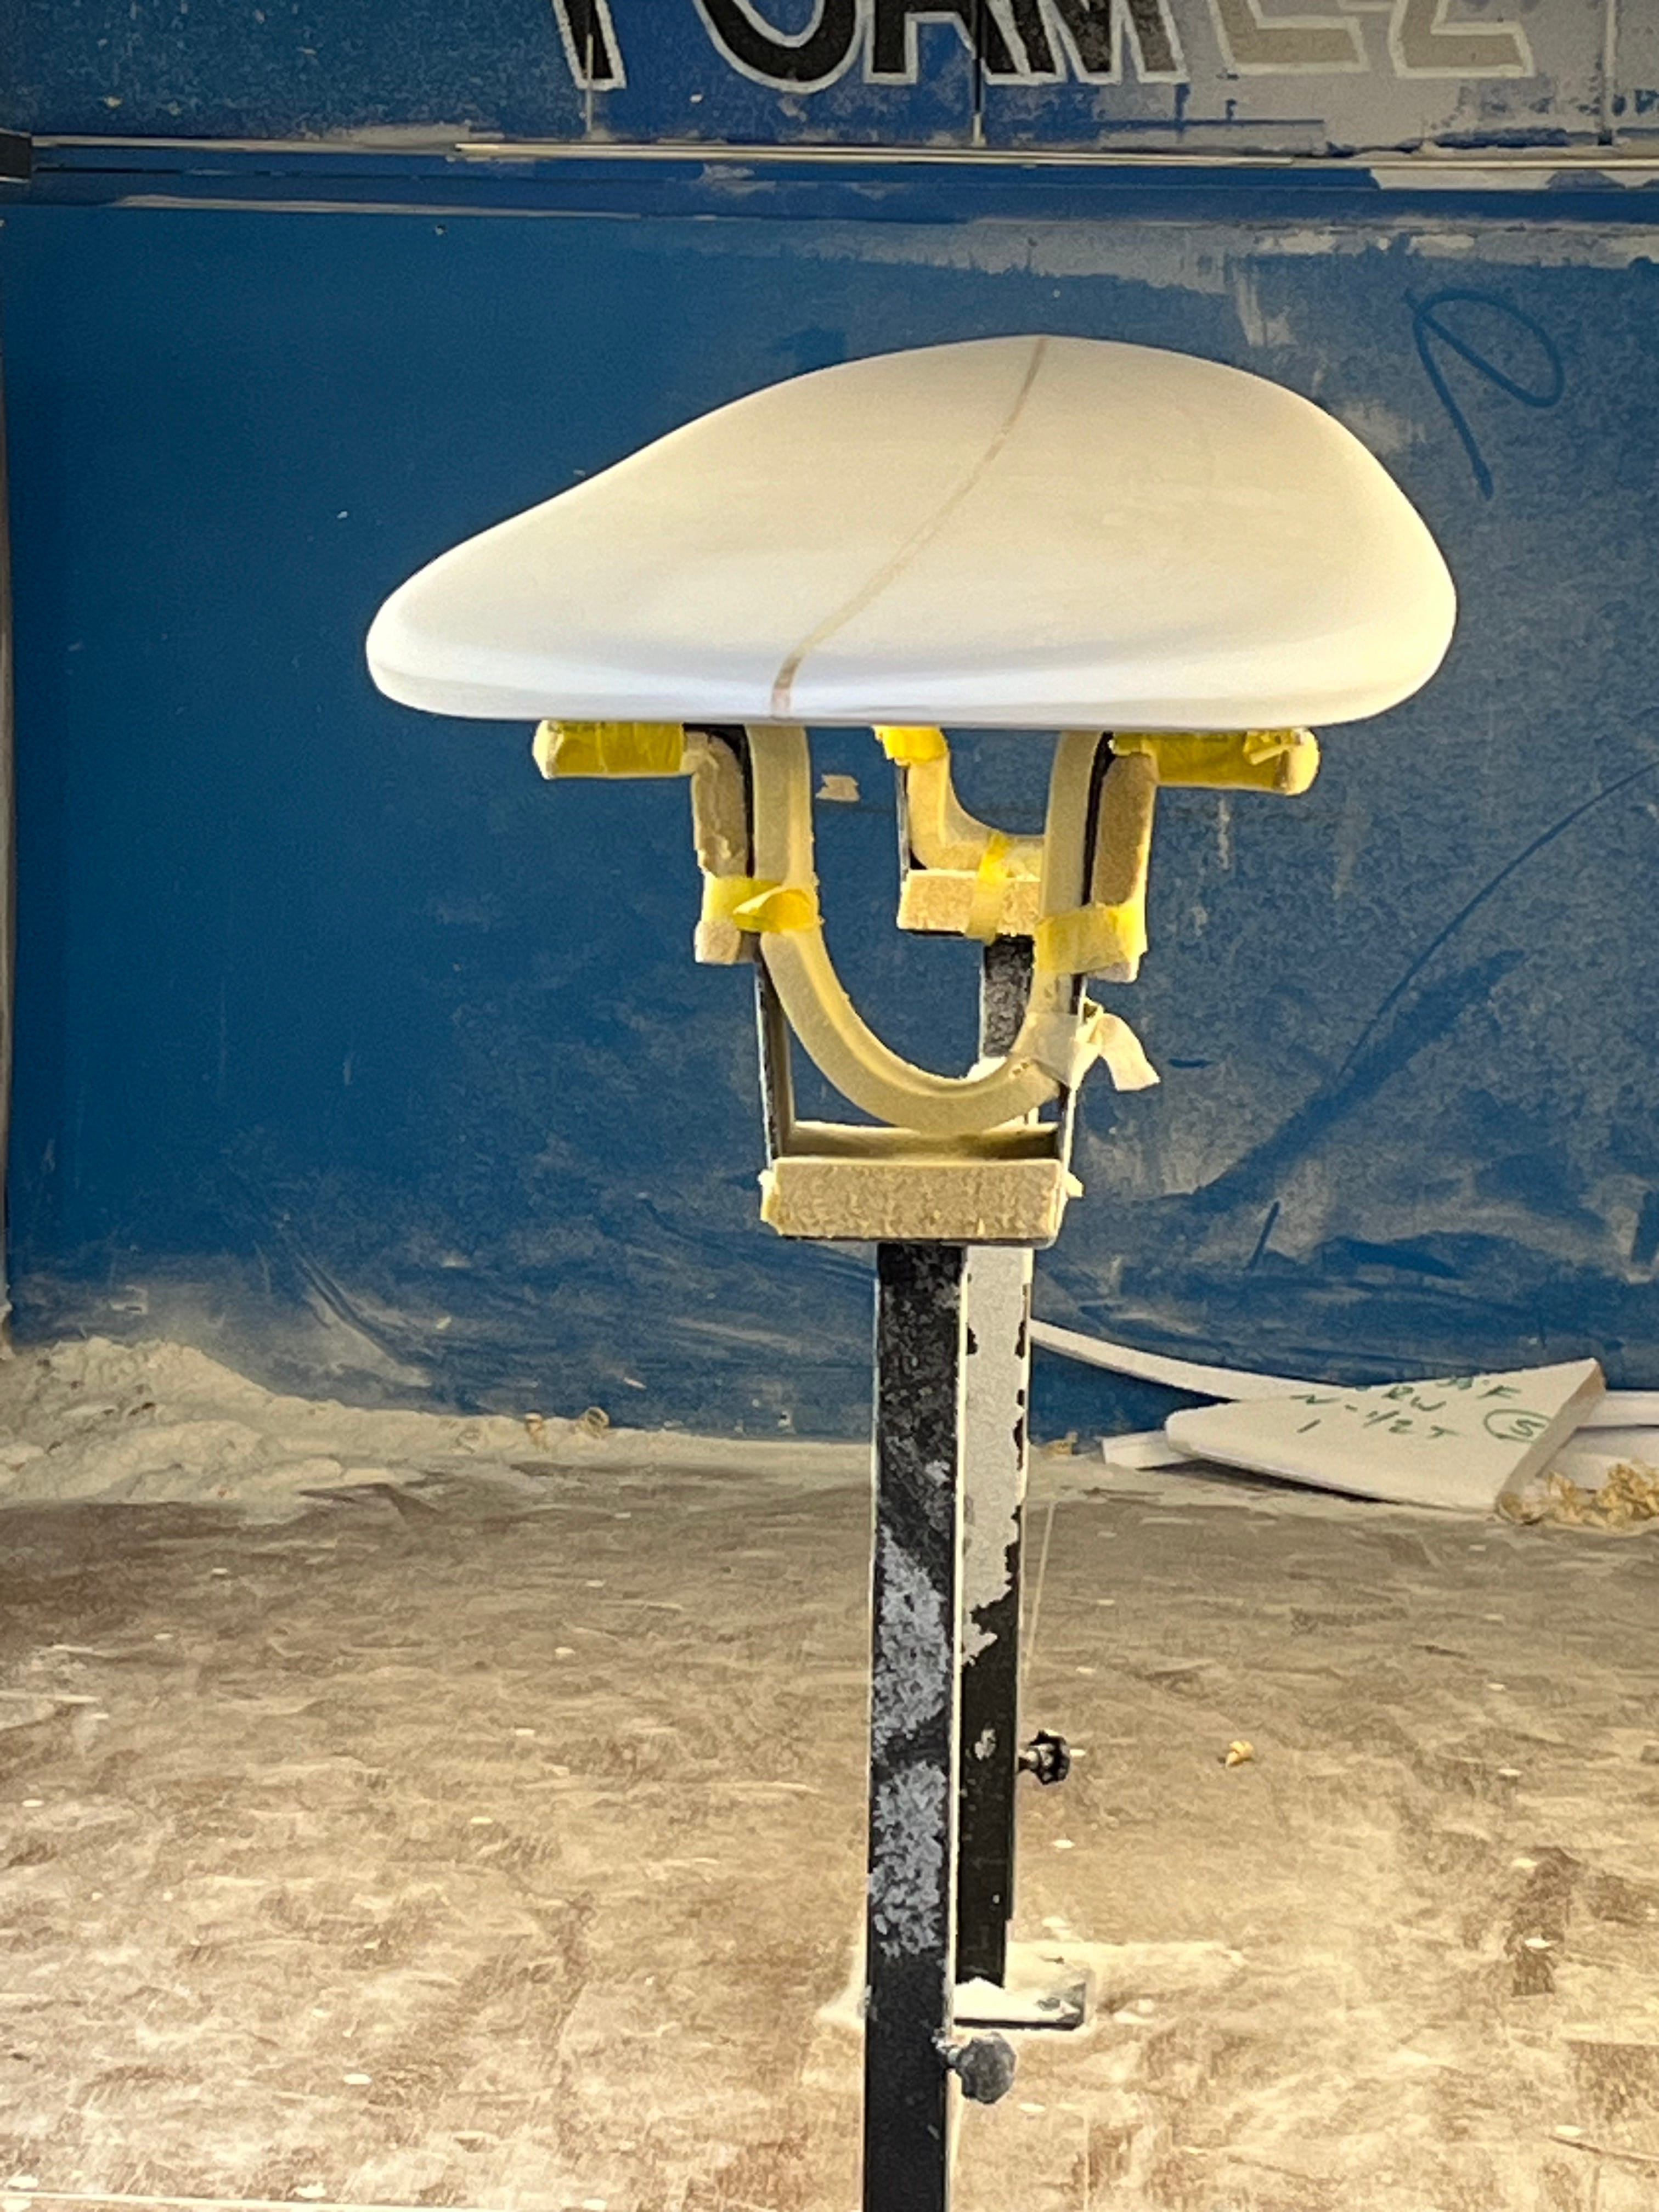
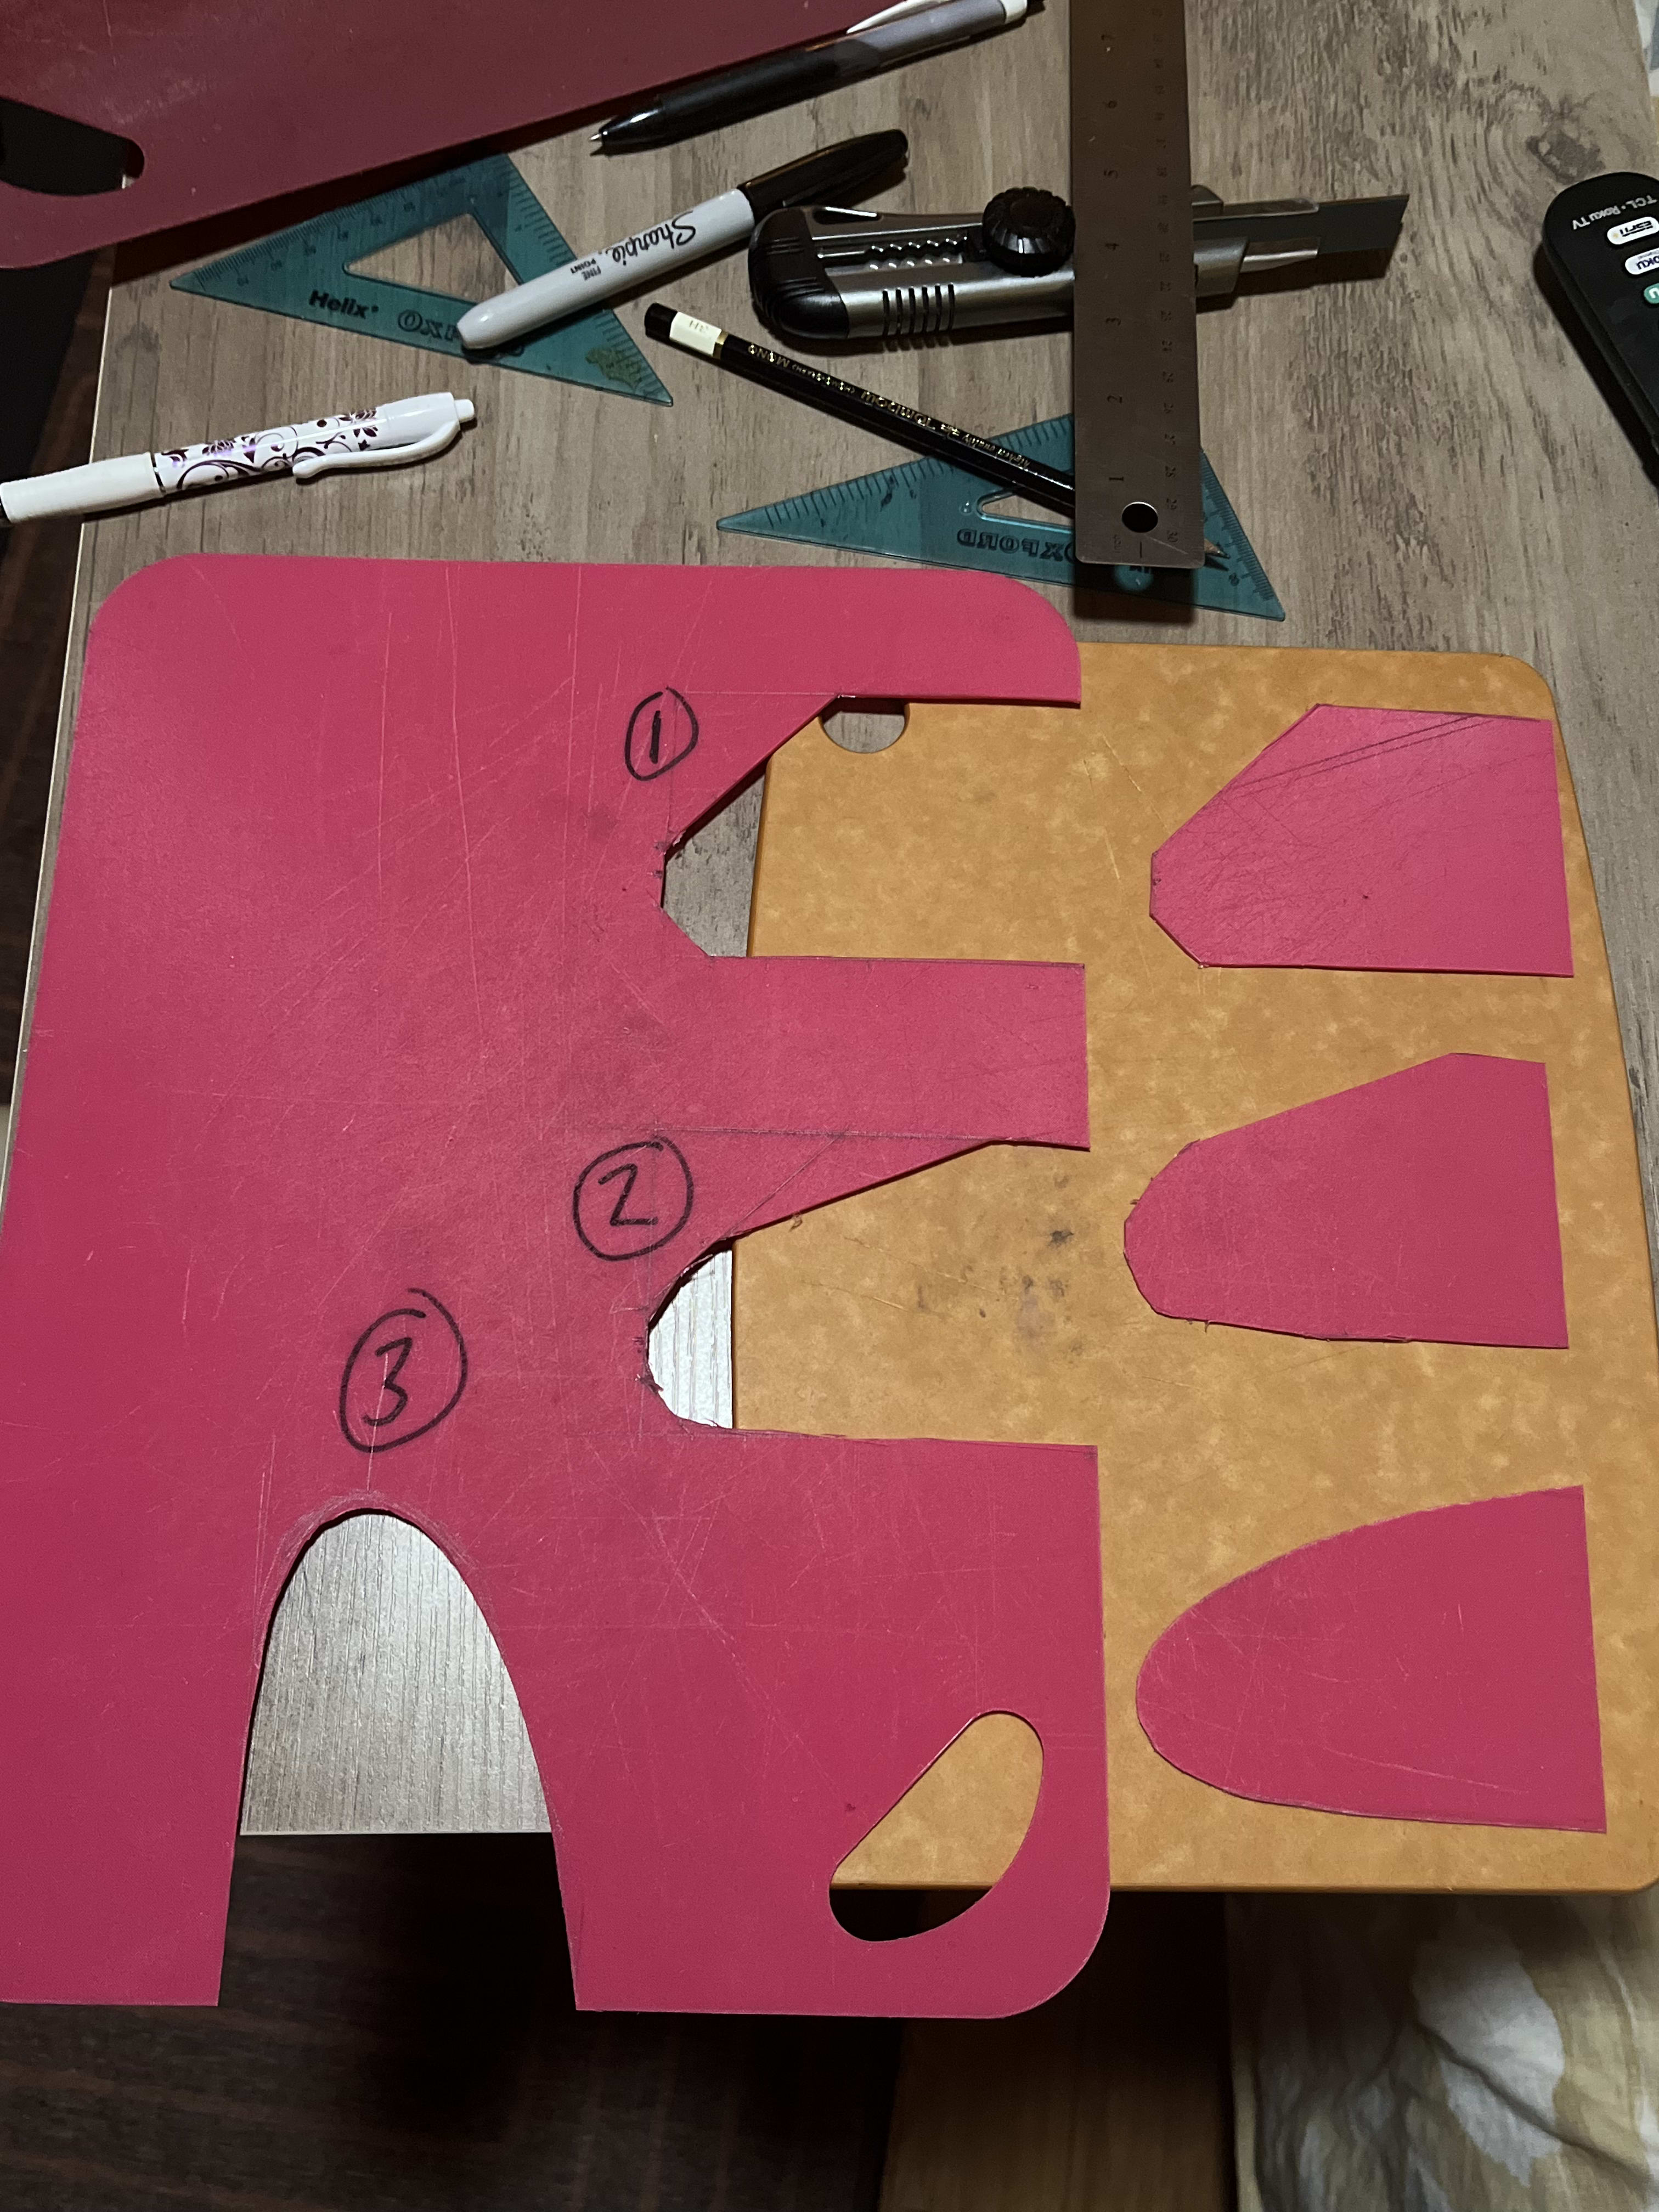
Overall soft rails with hydro hull chine transitioning into hard rails in the back. Soft rails run from the nose to the the fin, helping the board climb in the wave face. The rail apex was set a little lower than the standard 50/50 you'd find on classic/retro longboards. The hydro hull chine narrows the effective width of the board slightly further reducing friction at speed. We landed close to 60/40. That profile provides enough hold while being a touch faster. Hard rails in the tail let the water release further helping the board stay parallel with the wave.
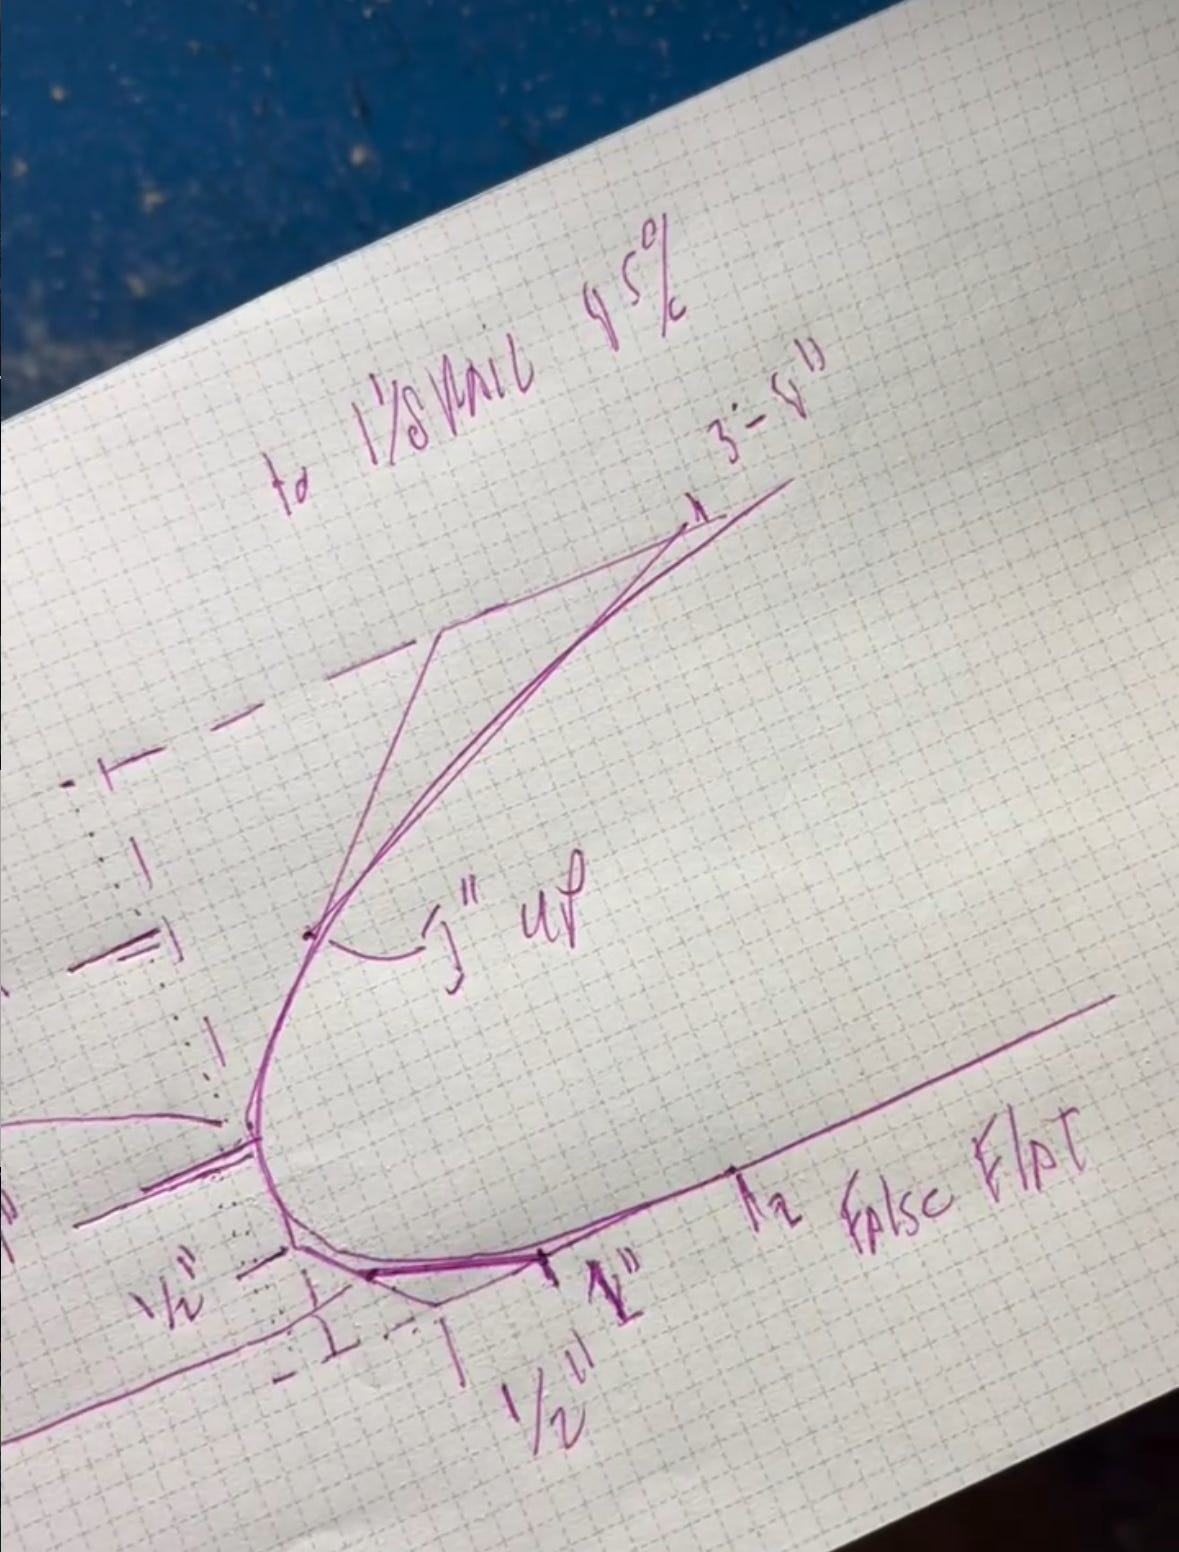
hydrodynamic side notes: Softer round rails in the tail will “suck” the tail into the wave crest, ideal for nose riding, but this board is ridden mostly from the middle. Google “coanda effect” for more details on how rounded surfaces interact with water.
Shaping
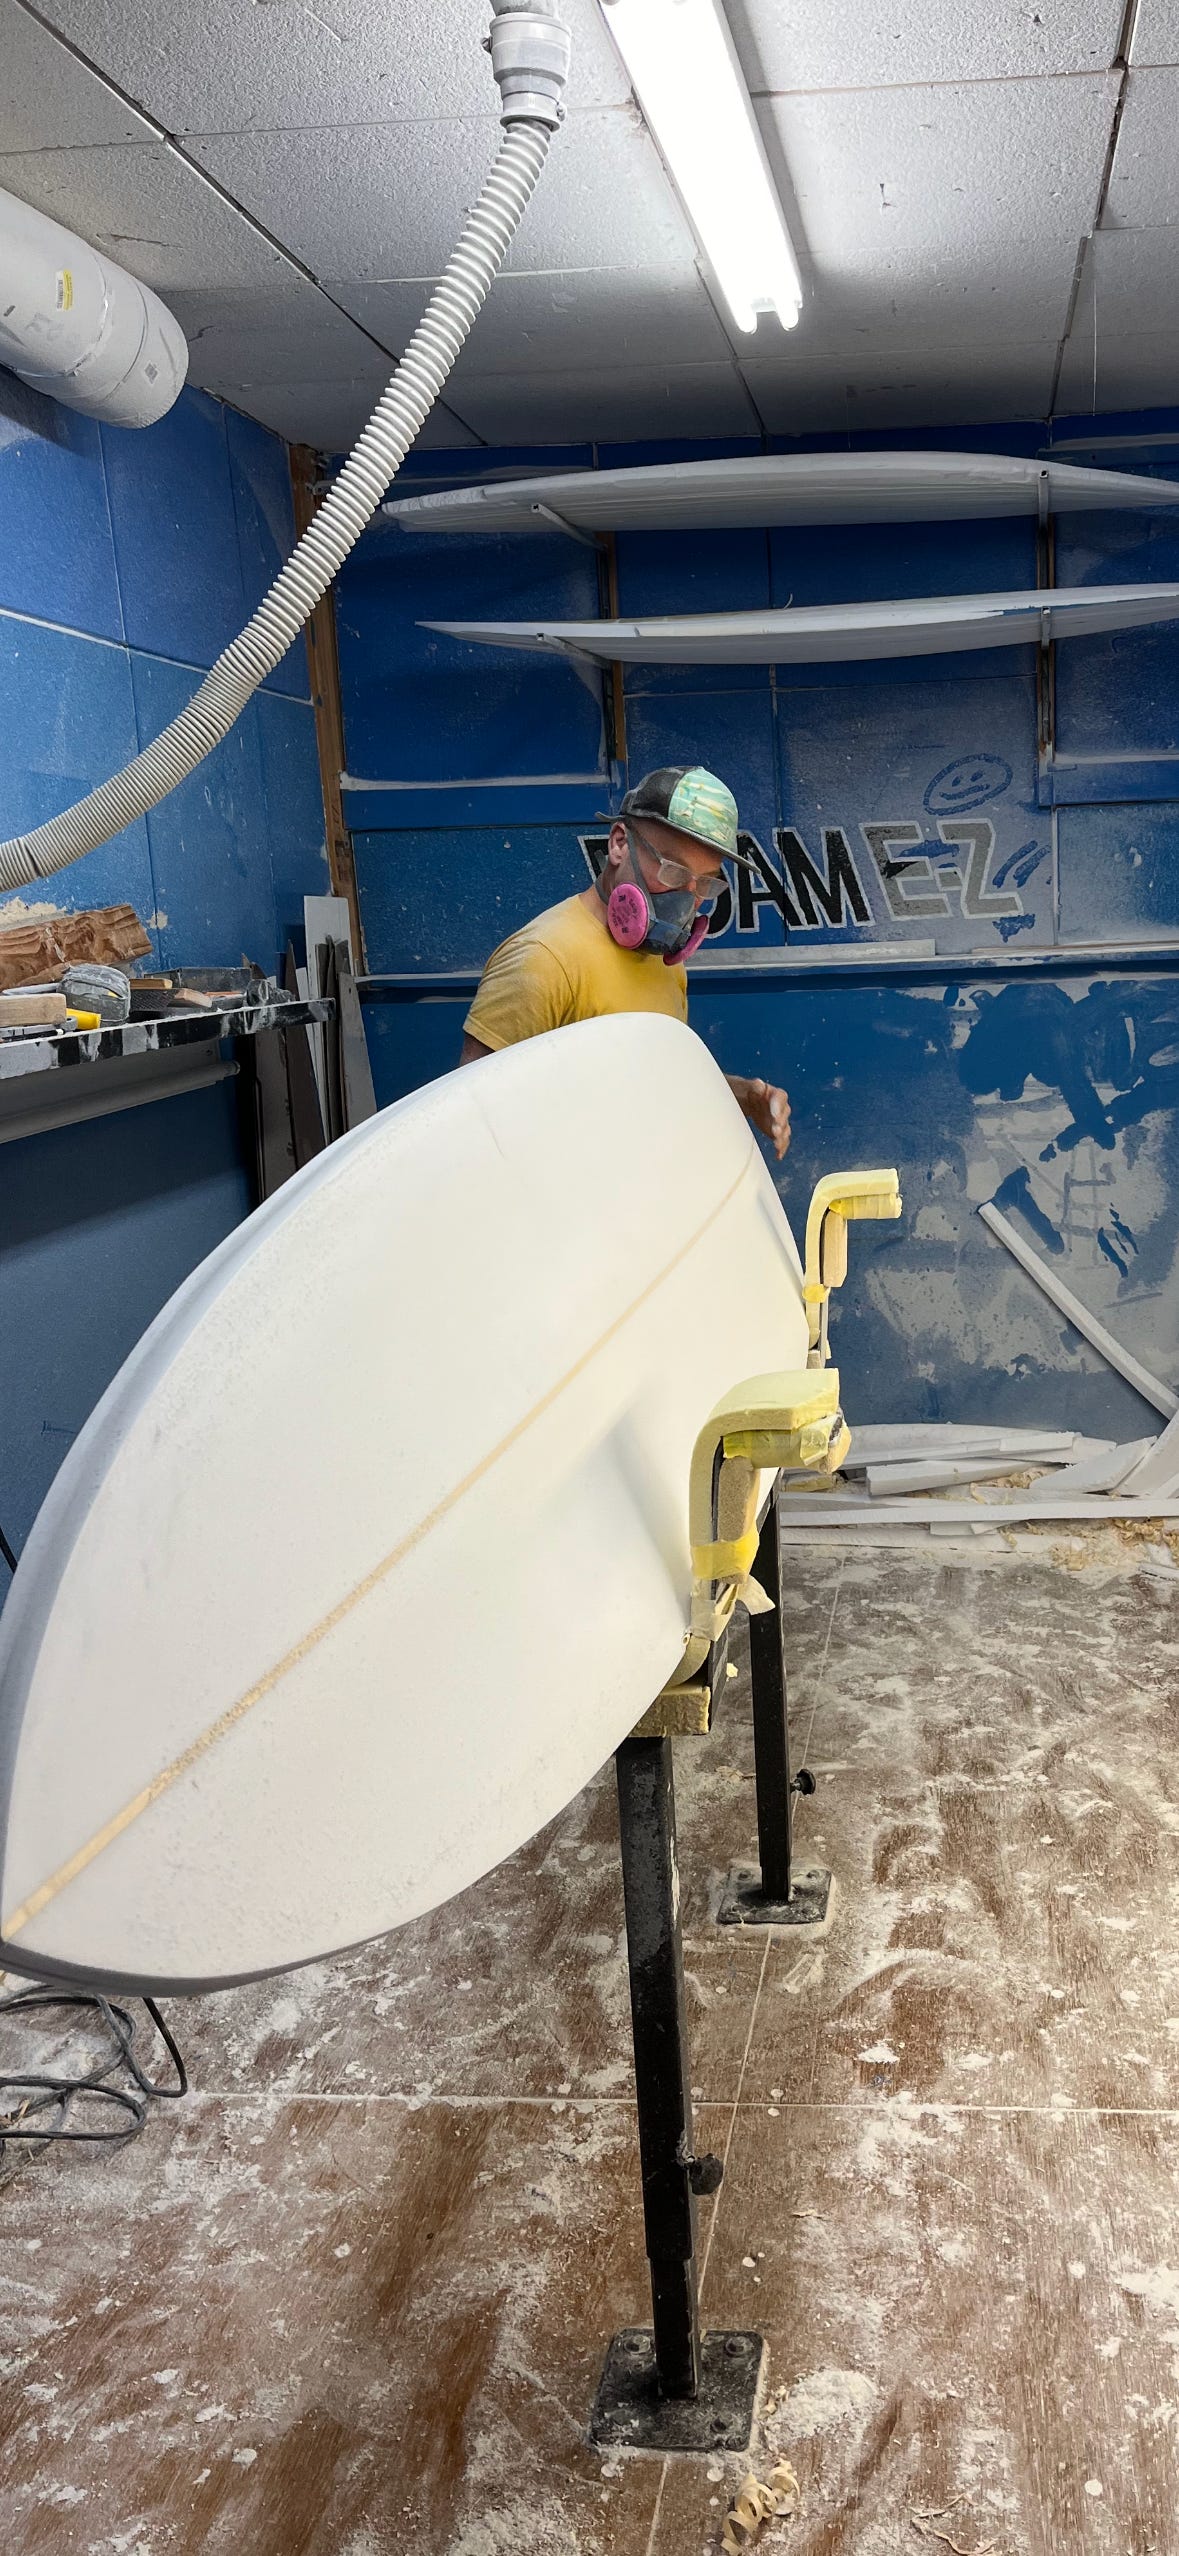
I will post on the shaping process in a future post
Choice 6: Finish and glassing
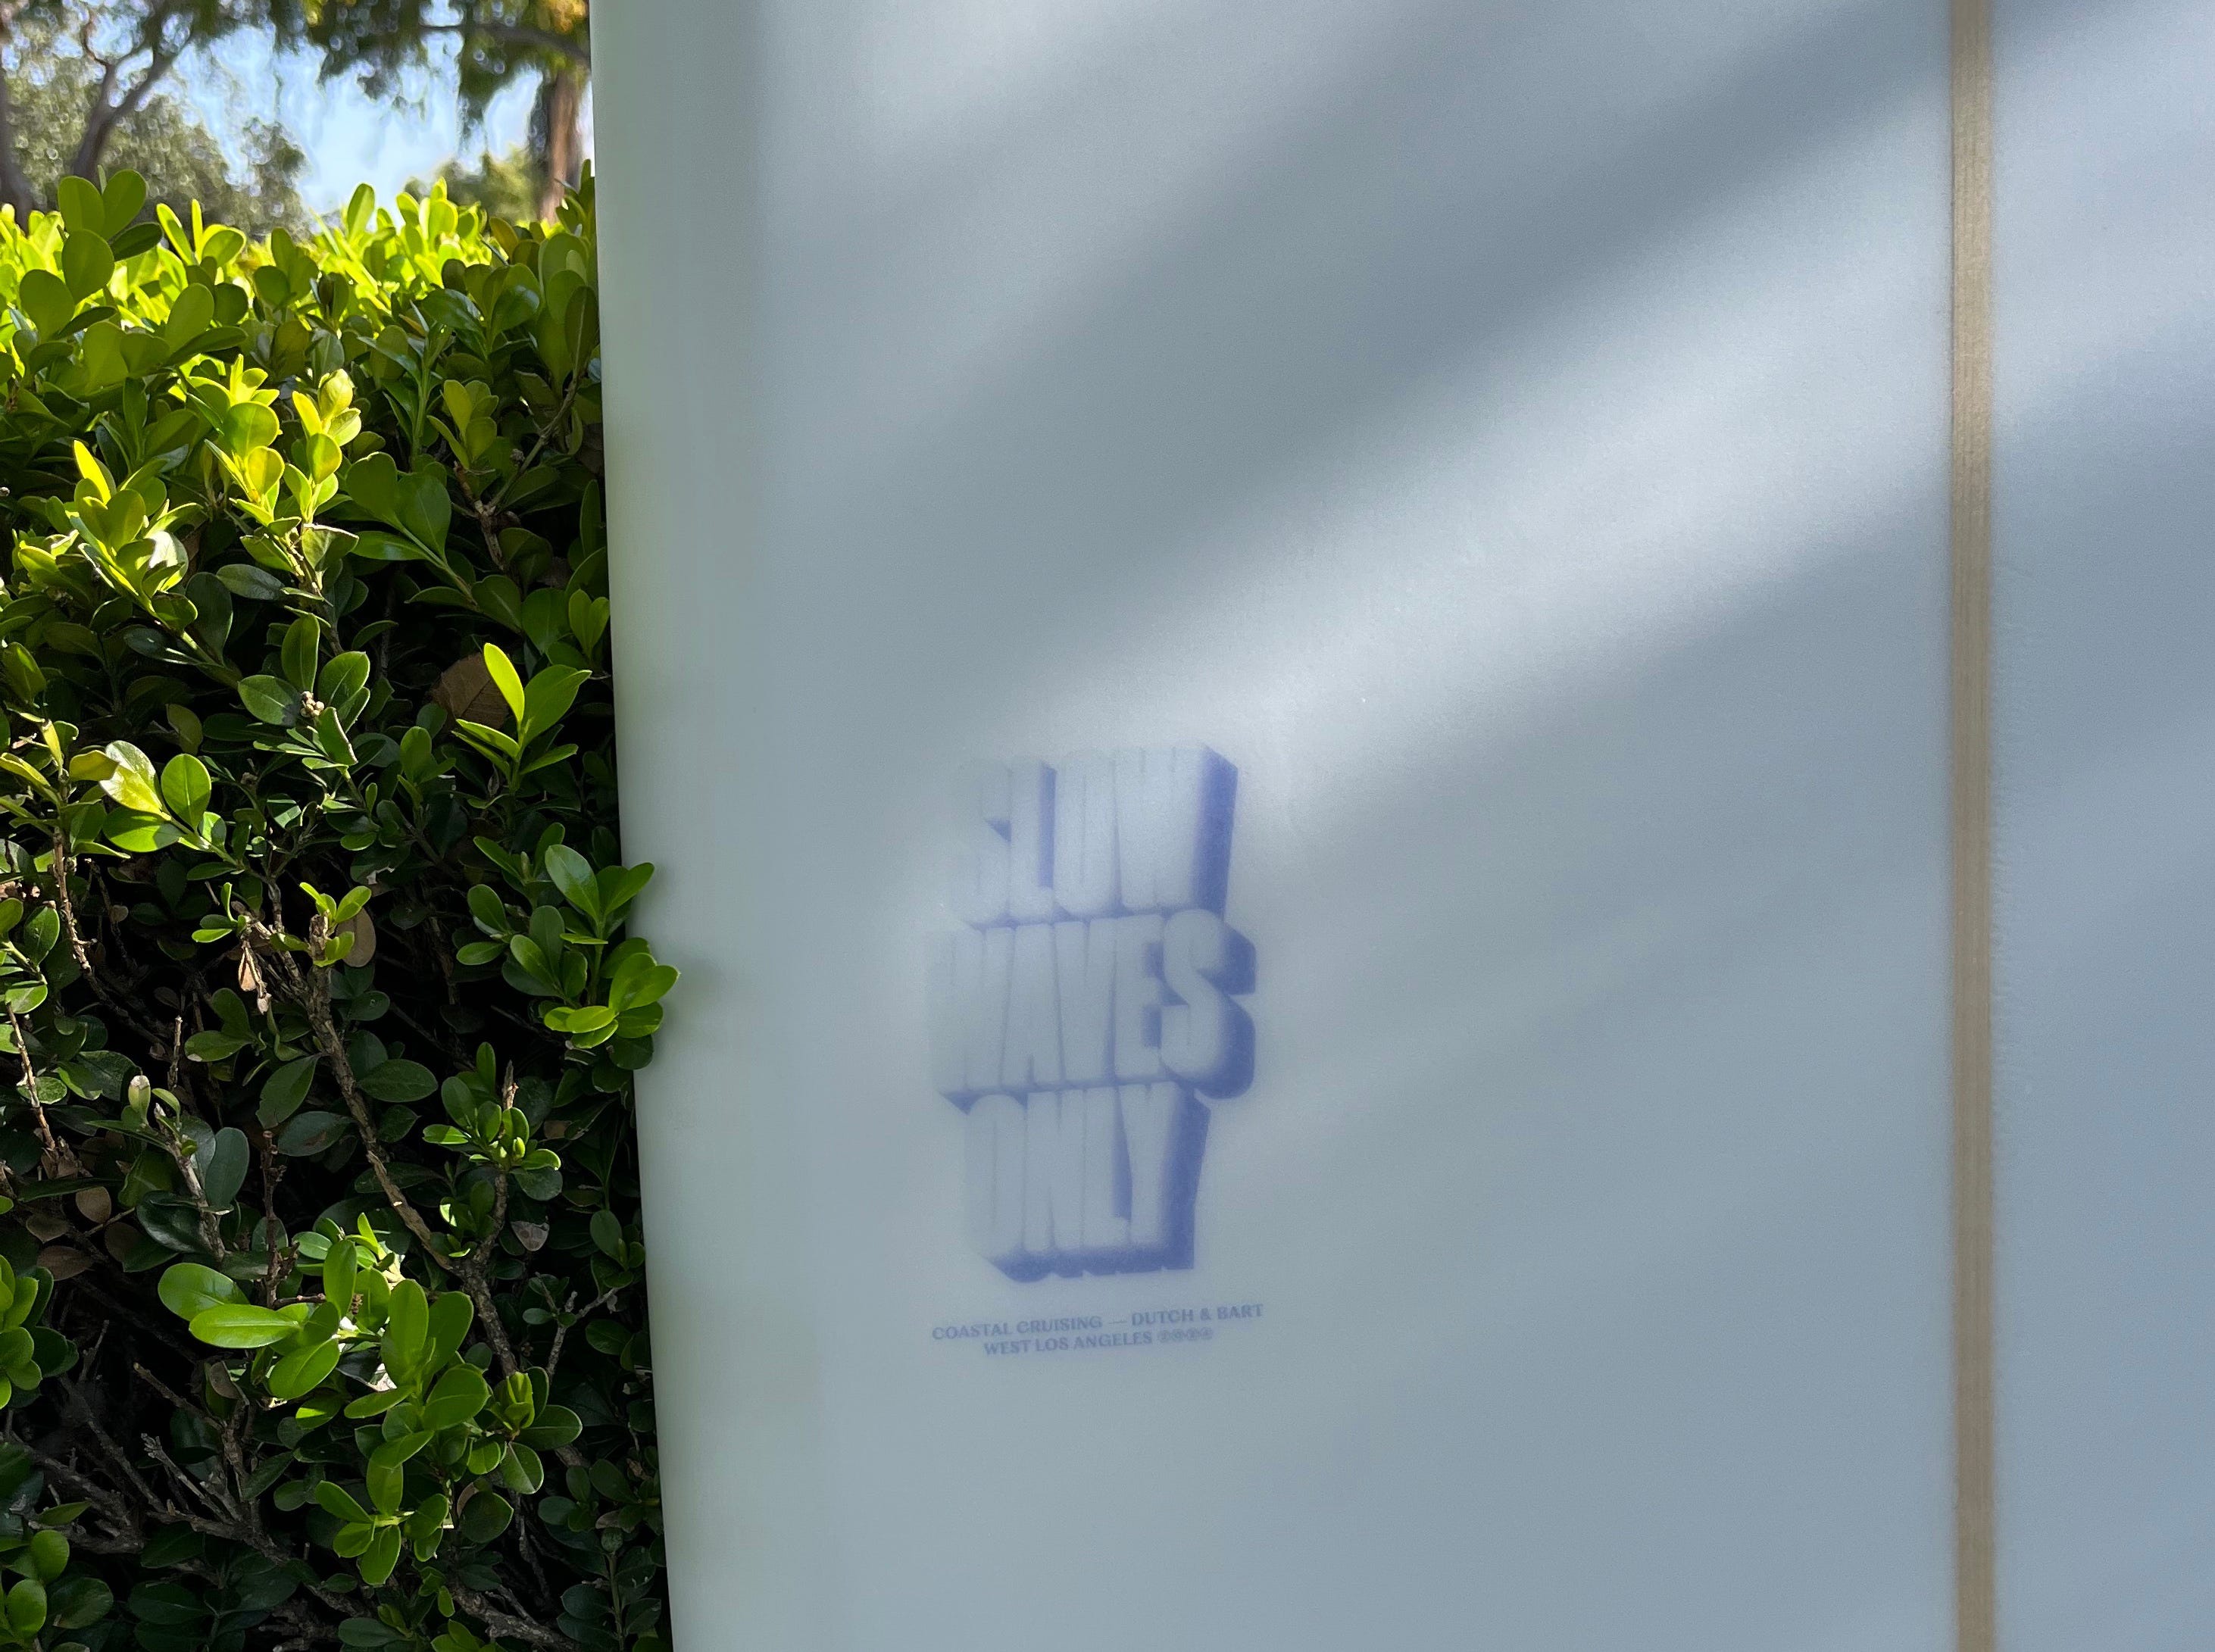
In keeping with the minimalist spirit, we kept the aesthetics simple—no additional colors or gloss.
The glassing of the board was light—4 ounces deck and bottom plus a 4 ounce deck patch (standard longboard are mostly 6/4 across the entire board) a quarter-inch basswood stringer. For this board, keeping it light was key to create the opposing forces between the board climbing in the wave and the rider’s weight. Heavier builds can be great for faster waves and momentum to connect multiple sections of a surf spot.
After two weeks at the glass and sanding shop, the board was ready. Those weeks always feel like an eternity-- second guessing design choices, , wondering if everything turned out right. But mostly, it’s the wait to see how the board will perform.
Stage 3: Surf!
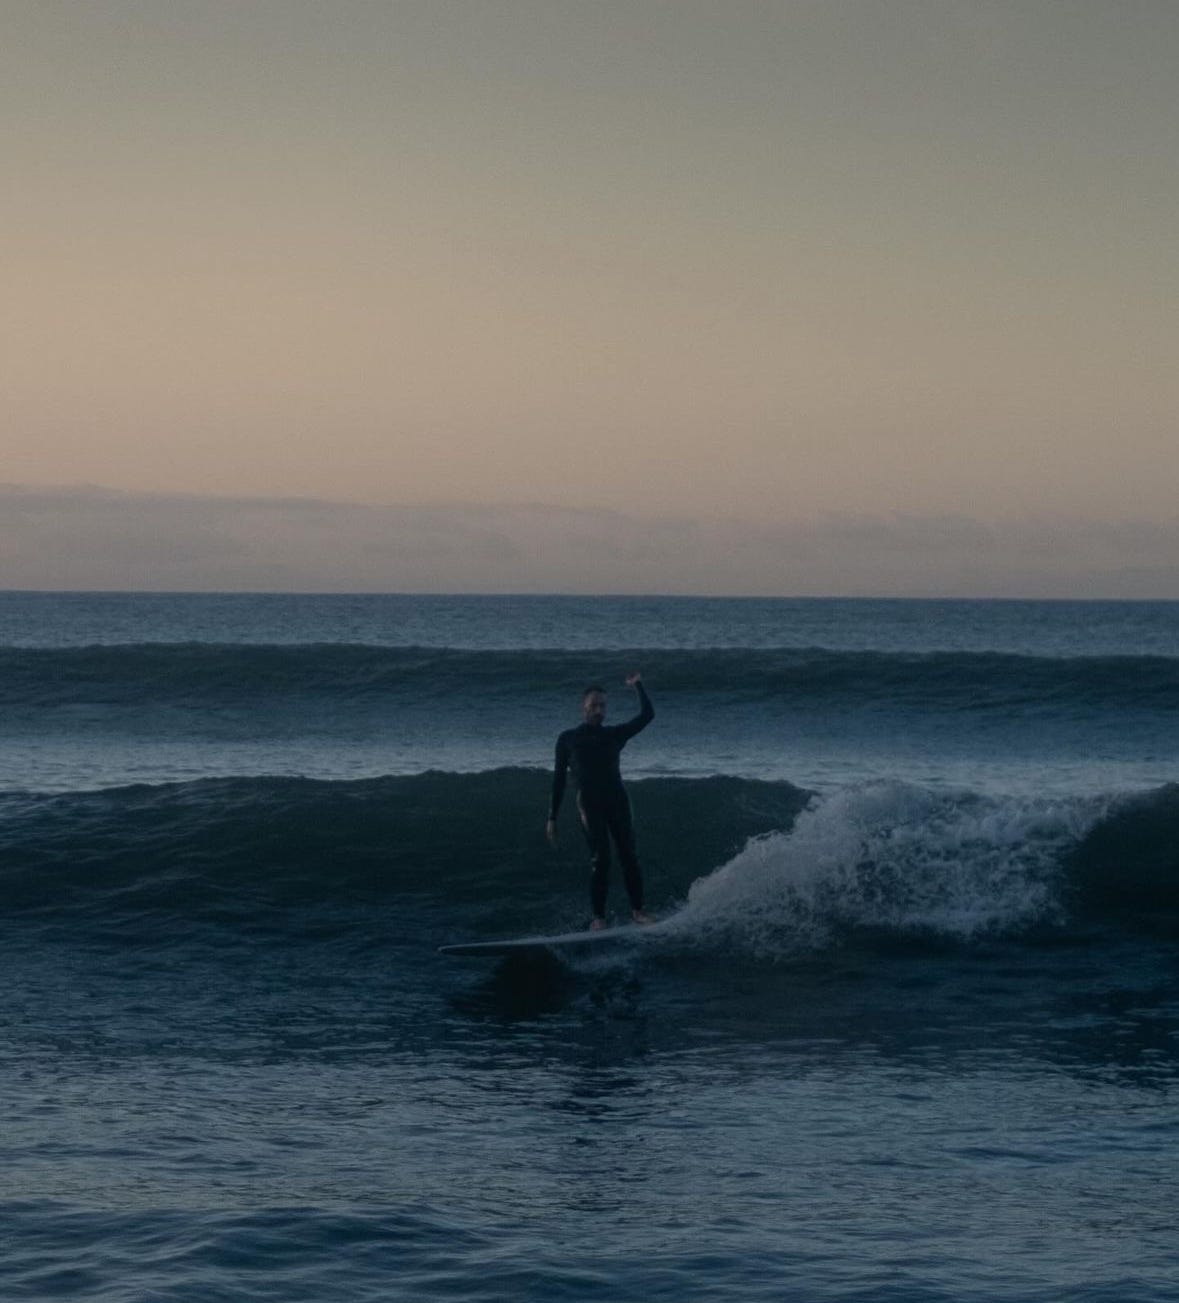
When the board came back, it was clear from the first session that the board worked really well. It climbed the wave face smoothly, picking up speed with minimal effort— finding it’s glide point. It turns with ease and draws nice continuous arcs. It brings us extra stoke that my friend regularly gets approving nods from strangers asking who made it.
Reflection
It helped that we stuck with proven design elements, but there's always a leap of faith tweaking the elements and combining them in new ways. All these choices are subtle. On their own, they might be barely noticeable, but together, they shape the board’s personality.
Custom board owners find joy in knowing that what seems standard and simple from afar is, up close, tailored for its purpose.
Aloha!
While writing this piece three new pieces came to mind
A categorization of custom surfboards
Board Building process
Shaping Process